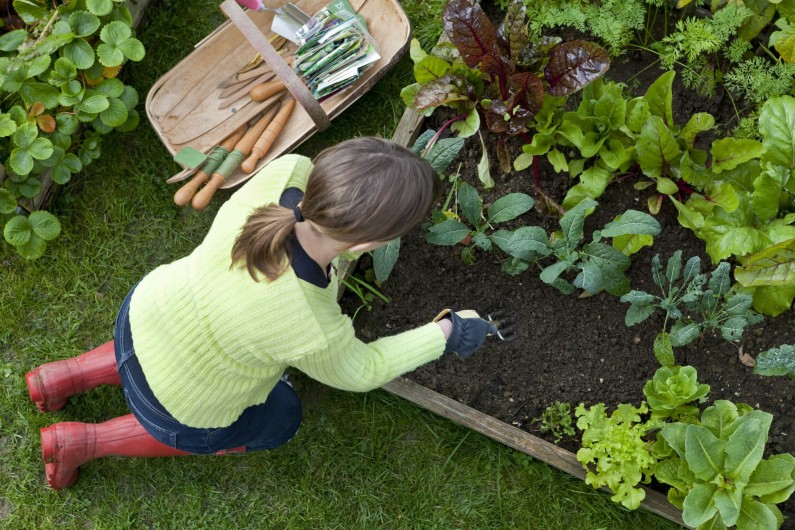
The perfect addition to your perfect lawn, a raised garden bed is a simple way to bring life into your patch of Eden. Regardless of what you fill it with, there are a few things to consider when thinking about where it will go and what you’ll make it with. But by getting started on one during winter it should be bursting with colour when spring returns and we head into summer.
Planning
Before anything, pick a level spot on your lawn that gets plenty of sun and measure out your boxes. Length isn’t a major concern but keep the width less than 1.2m for boxes you plan on walking around or 0.9m if it sits against a fence; that way you’ll be able to reach everything easily.
Think about how high you want the beds to sit and how much of your lawn you’re looking to complement too, because while higher beds require more timber, pegs and soil but you won’t be bending over as much.
Once you’ve measured out your boxes, break up the soil with a garden fork or spade so it’s not compacted. Plants need 15-30cm for their roots to move properly so bear that in mind. If you’ve taken out any soil or removed a layer of grass here, keep it to fill the bed once it’s built.
What you’ll need
Unless you have a surplus of timber and screws in the shed, a trip to the local home improvement store is next on your list of things to do. As far as the type of wood you’re after, make sure it’s rot resistant.
Treated pine is safe and economical, and any natural option will protect your lawn from anything that could leech into your soil. To keep your boxes in place, pick up at least 4 wooden pegs to go in each corner.
For longer boxes feel free to add more around halfway down each side. And to fix your boards to the pegs you’ll need galvanized nails for boards less than 50mm wide, and hex head screws for boards wider than 100mm.
Putting it all together
Arrange your timber on the piece of lawn you measured previously. To make sure your bed is square, measure diagonally from corner to corner and bump any stray planks into place so both measurements match. With everything square, make sure your planks are level and trim any soil underneath with a spade before driving your pegs into each corner.
Make sure they sit just under the top of your highest board, with around 300mm buried for stability. Now fix your planks to the peg. If any longer boards have a slight curve to them, fixing them to a peg around halfway down should pull them in line.
Filling your bed
With your bed fully constructed, feel free to add a few layers of newspaper to the bottom as a compostable weed mat before putting back any soil you took out when levelling the ground. If you have any compost or green waste of your own, now’s the time to use it, otherwise, fill your bed with vege mix or your own combination of potting mix and compost so that it sits about 50mm from the top.
With everything set for planting, you can go ahead and get creative. The possibilities are endless here but consider when you want to harvest and how the weather will affect your lawn and the veges you’re going to plant.
Checklist
Tools
- Spade
- Garden Fork
- Spirit Level
- Tape Measure
- Hammer
- Socket set (for timber 100mm wide)
- Drill and bits (for timer 100mm wide)
Materials
- Timber
- Galvanized nails, or
- Hex head screws (for timber 100mm wide)
- Wooden garden pegs
- Newspaper
- Compost and soil or vege mix
- Plants of your choice!
